Mr. Dewie’s is one of our 40th Anniversary sponsors!
We’ve been working with them for years and even carry their amazing cashew milk ice cream by the scoop in our Annex. In each of our 40th Anniversary Raffle Tote’s you will find a coupon for a pint of their wonderful product redeemable in our stores.
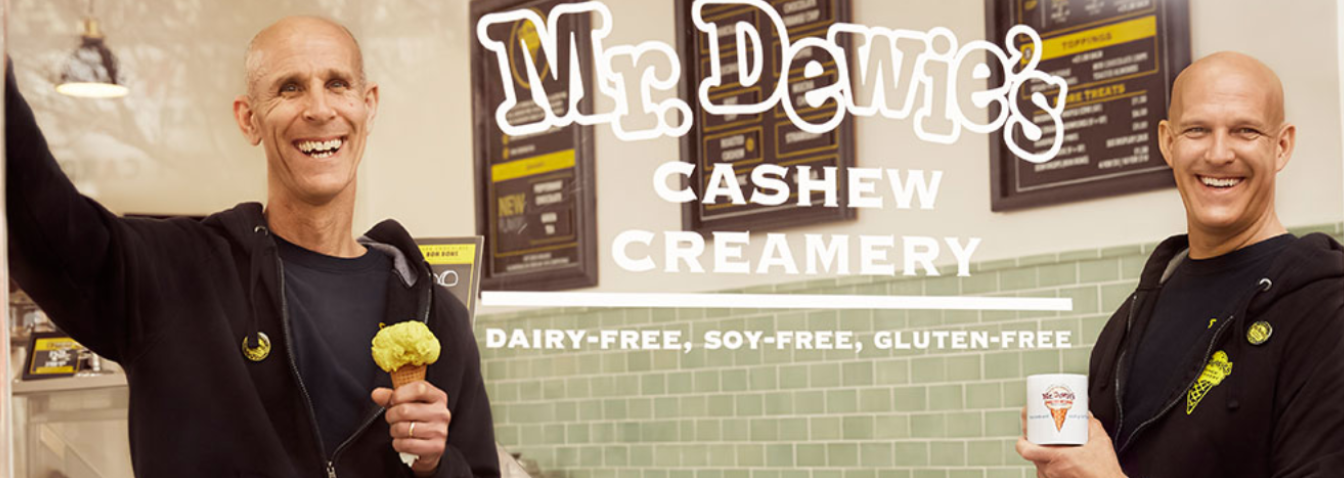
Brothers Ari and Andrew Cohen, born and raised in Berkeley, CA, are the creators and co-founders of Mr Dewie’s cashew milk ice cream, founded in 2011.
Their mission was to make a creamy, rich, and delicious ice cream that also met their personal dietary needs of being free of dairy, gluten, and soy. It was important to them to keep it local, and to use only natural, organic and healthy ingredients. No fillers, additives, preservatives, gums, or oils — truly homemade!
We love Mr. Dewie’s! Thank you!